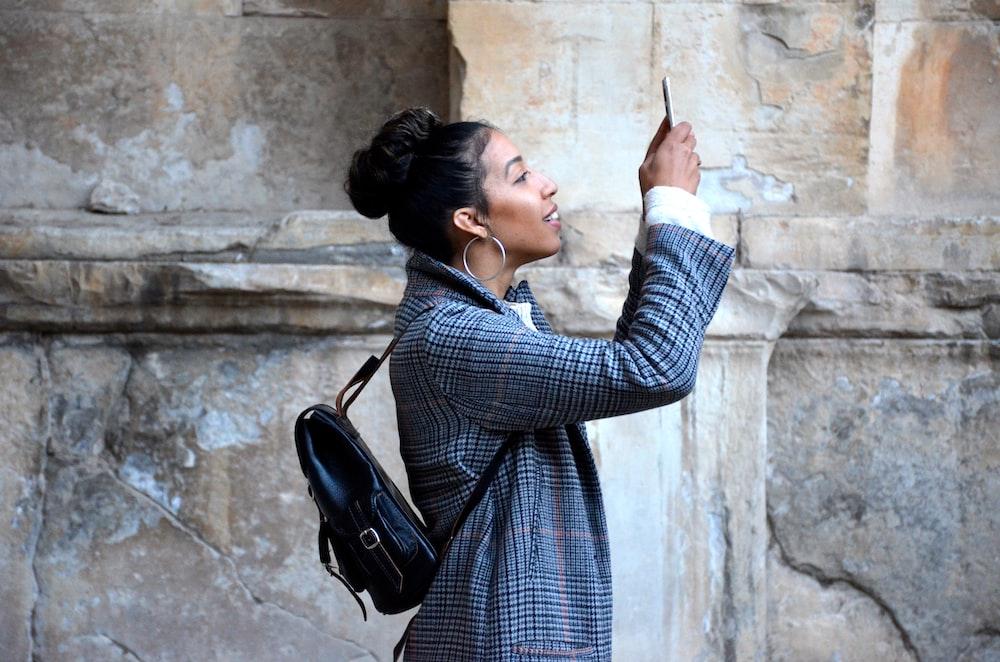
The ability to shoot photos and videos is one of the main reasons to buy a smartphone. iPhones traditionally pay a lot of attention to the quality of cameras to make the process of shooting even easier and more enjoyable. If you like taking pictures and experimenting with the features of your device, you can also try green screen apps for iPhone. In Skylum’s blog, you will find useful tips on how to do it.
And today we’re going to talk about the camera features in Apple smartphones and how to use them properly.

How to take a photo on iPhone
It’s easy to make a photo on iPhone. The device provides its owners with unique opportunities to create photo content. Here are a few basic points:
- To take a picture, open the app. Select the desired mode for capturing the photo (e.g. portrait photo, live shots, panoramic photo, macro photography).
- For fans of unusual pictures, iPhone offers many special modes. To switch to one of them, swipe the screen to the side. You can choose slow motion or frame-by-frame shooting. There is a panorama mode, square, and so on.
- For shooting in the dark, the flash option is used.
- The latest models have Live Photos on by default. It is something in between a photo and a video. If you want a classic photo, you can turn this option off.
- If you want to take a picture and no one is around, turn on the timer. You will have time to get into position for the photo.
- Burst mode – will be good if you have to shoot a moving subject. Hold the shutter. Many pictures will be taken, from which the artificial intelligence will mount a quality photo.
Tips on how to take great shots
Shooting with a phone camera does not require professional skills in the field of photography, but there are special rules that will make your pictures special and unique. Let’s take a closer look at the most important of them.
Find a place to hide the bright sun
If you want to catch the bright sun in the lens beautifully, never point the open rays directly at the camera – they will provoke a glare, and the result of the photo will only be a white spot.
Find an object where you can hide the sun and let just a few highlights out from behind it – this works well with tree crowns.
Be careful with the lighting
Very often natural and artificial light mix up and create a yellowish effect on the skin of the model. To avoid this, turn off the chandelier or in-ceiling lighting. However, if the person is facing the window and natural light illuminates from the front, you can leave the spotlights (sconces, lights, floor lamps) behind him. This way the colors do not combine, and lighting fixtures create a warm atmosphere in the background.
And if this is easy to do at home, then in a public place (cafe, library, store) – much more difficult, so be sure to take into account this important point when choosing a shooting space.
Take pictures during the daytime if possible
At first glance, it may seem to the human eye that it’s easy to get good shots at twilight or in a half-lit room, but that’s not true. The result will be the loss of your subject in the background and digital noise that causes less image quality. Therefore, if possible, take pictures with your smartphone mostly in daylight.

Use additional light sources when it’s dark
If you have to shoot at night, you can use additional light sources, such as a ring lamp. Choose the diameter based on the size of the object you want to illuminate – the larger it is, the bigger the lamp is needed.
If you put the lamp at the same level as your subject, it will cast a shadow on the background or other surfaces. So, direct the light straight ahead, slightly above the subject itself or place it on one side at a 45-degree angle also from above – this will provide lateral lighting, and the shadows will move down and be invisible.
Do not shoot with normal room light – this will give a dirty yellow cast to the photo, which will not be removed even in post-processing. Also, the chandelier shines from above, and if the model is standing under it, you get shadows under her eyes.
Control the exposure
Set your finger to focus on the model and move the sun icon up to brighten or down to darken the photo. A little tip: If you hold your finger down on the focus and exposure settings, these settings will not be fixed for one photo, but for the entire series and will remain unchanged.
Conclusion
The iPhone camera is a great tool for novice photographers. At first, you can just practice by honing your skills. Later you can try to implement some interesting ideas using green screen apps for iPhone. Read Skylum’s blog, gain experience and realize your creative potential!

